Trips
When you travel to a project meeting, you ask for approval first by creating a trip. Once the trip is approved, you can claim your travel costs back with an expense report.
Asking for a trip
- In the menu, click Project Events › Trips, then New Trip.
- Under Meeting, start typing the meeting's name and pick it. Loom fills in the project and the location.
- Give the trip a Title and a Purpose, such as "Present the pilot results".
- Check the Project and Beneficiary (the organisation paying for the trip).
- Set your Latest Arrival Time and Earliest Departure Time. These are in the meeting city's local time.
- Under Attendees, click Add travellers for everyone travelling. If someone's dates differ from the meeting, Loom asks for a short justification.
- Click Save draft to finish later, or Submit for approval.
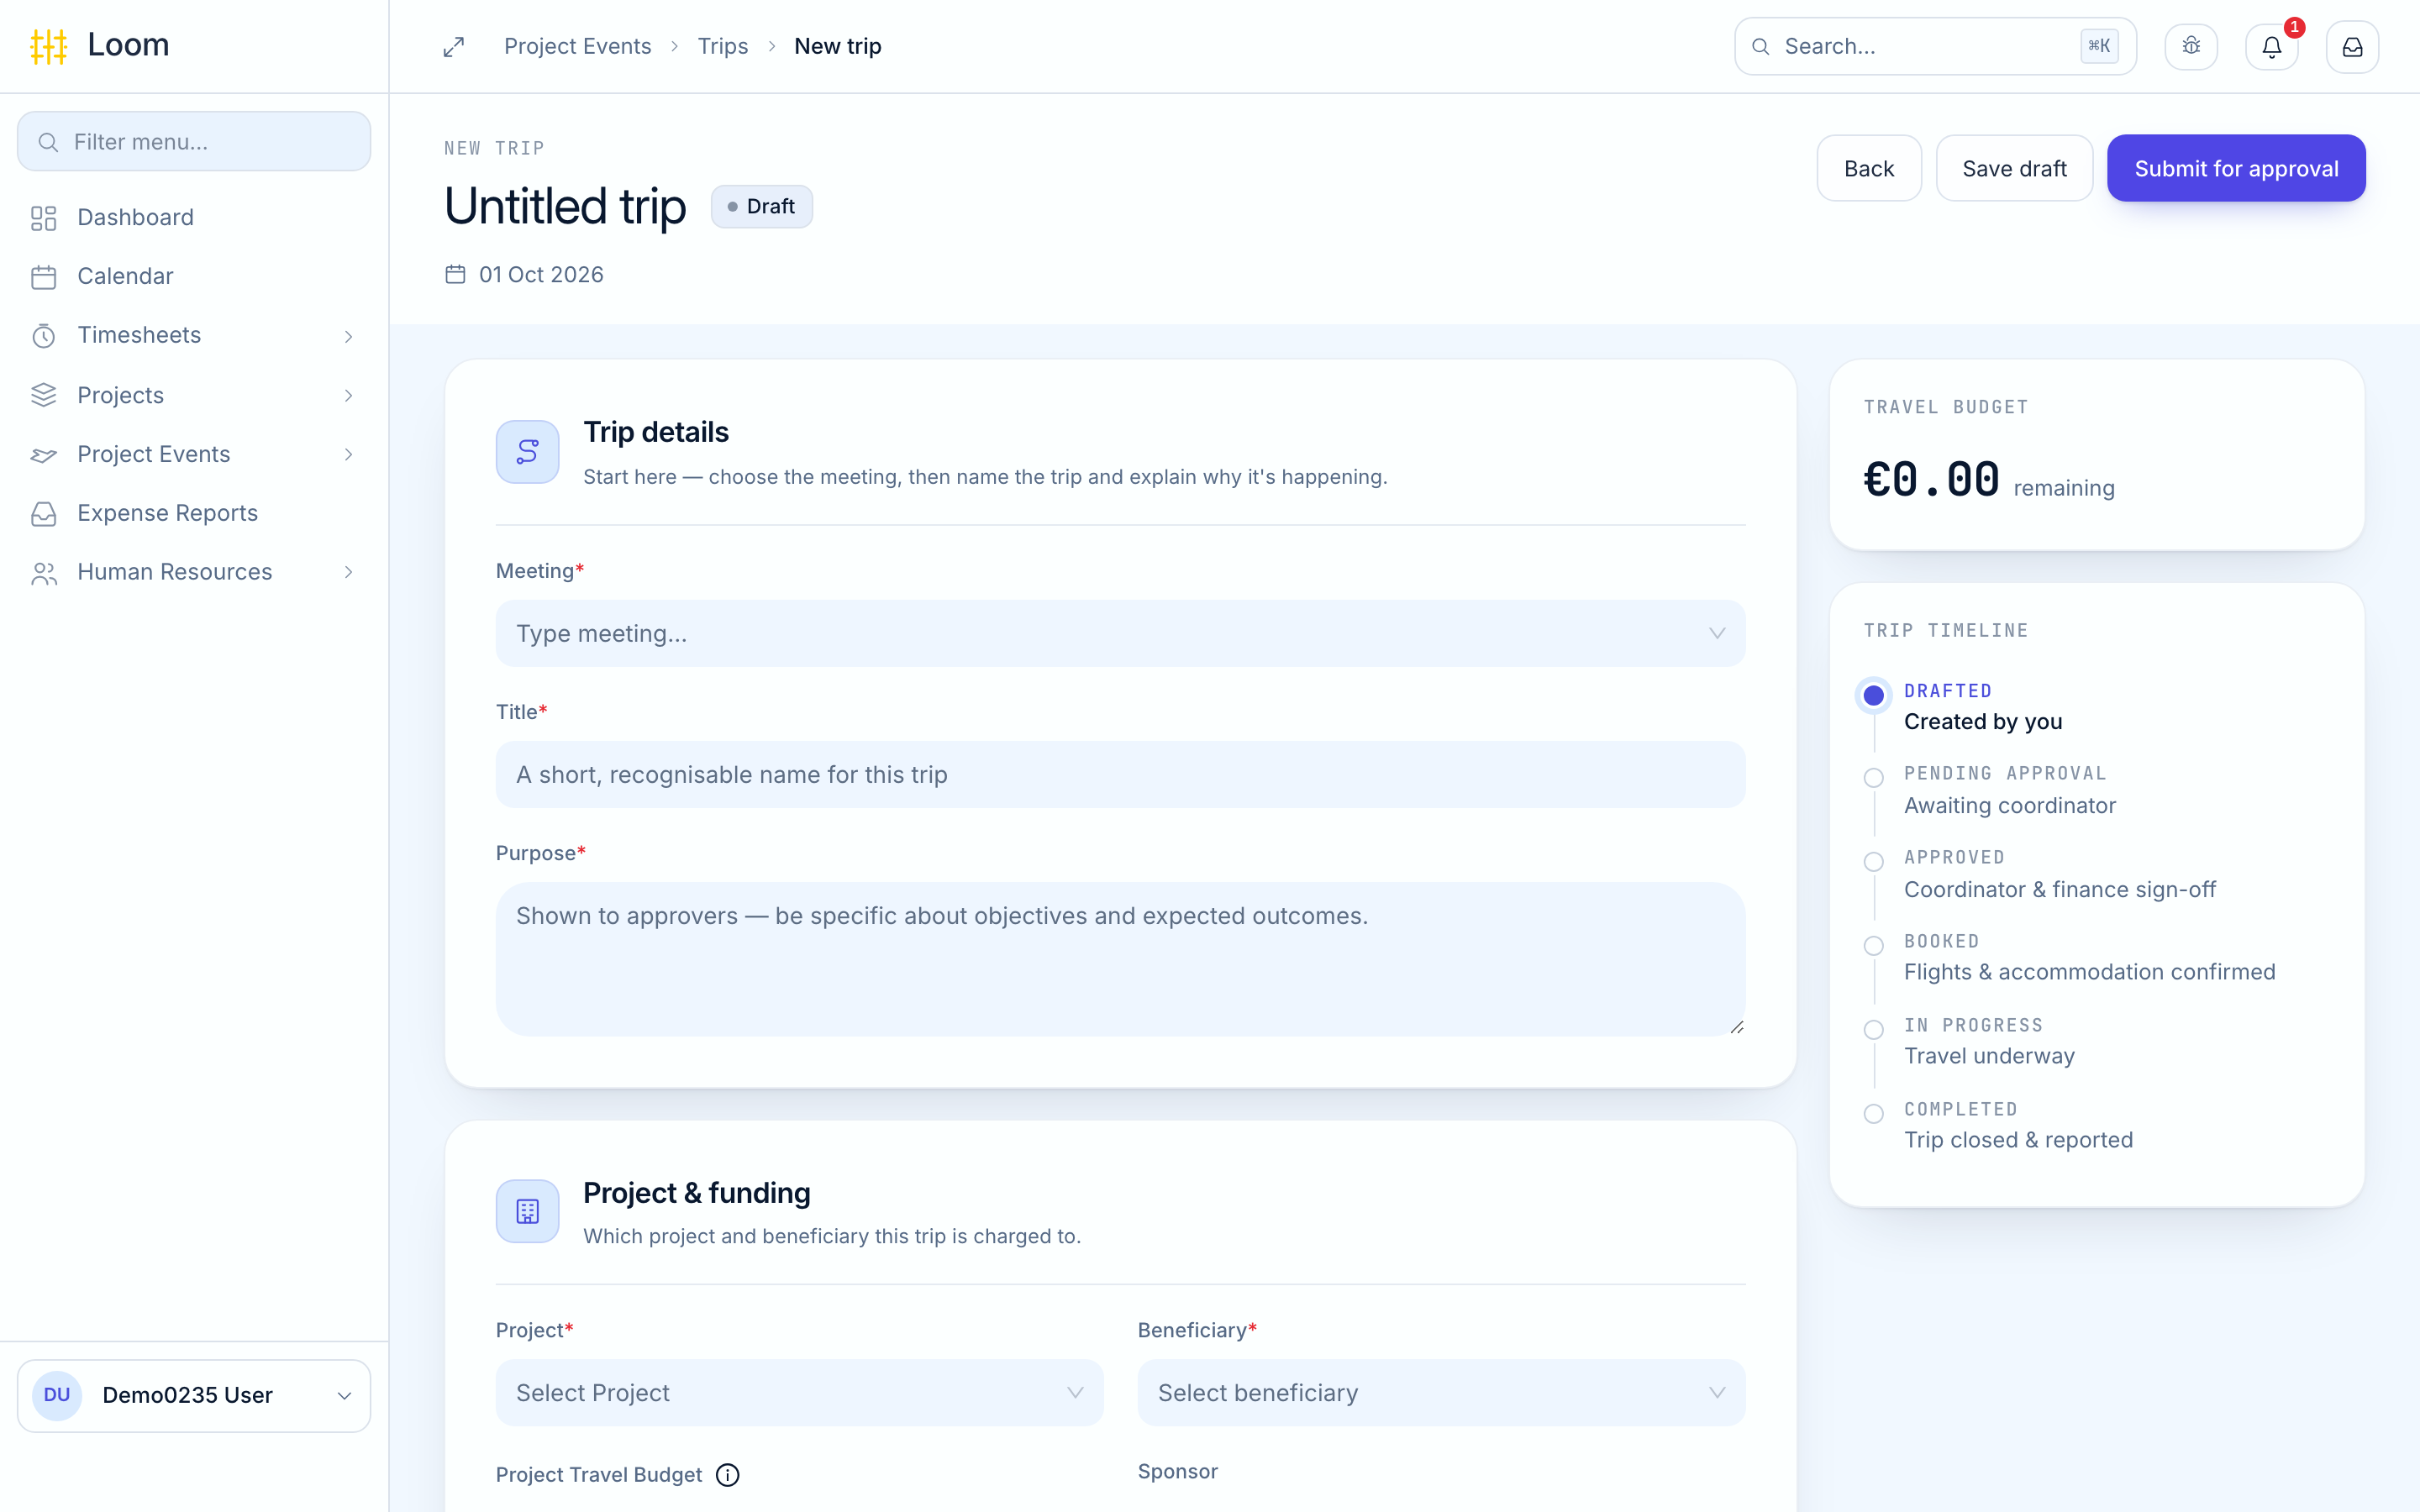
Submit for approval is greyed out
If you see No project sponsor for this beneficiary, nobody can approve trips for that project yet. Tell your project manager.
You can also start a trip from a meeting: open the meeting and click Create Trip.
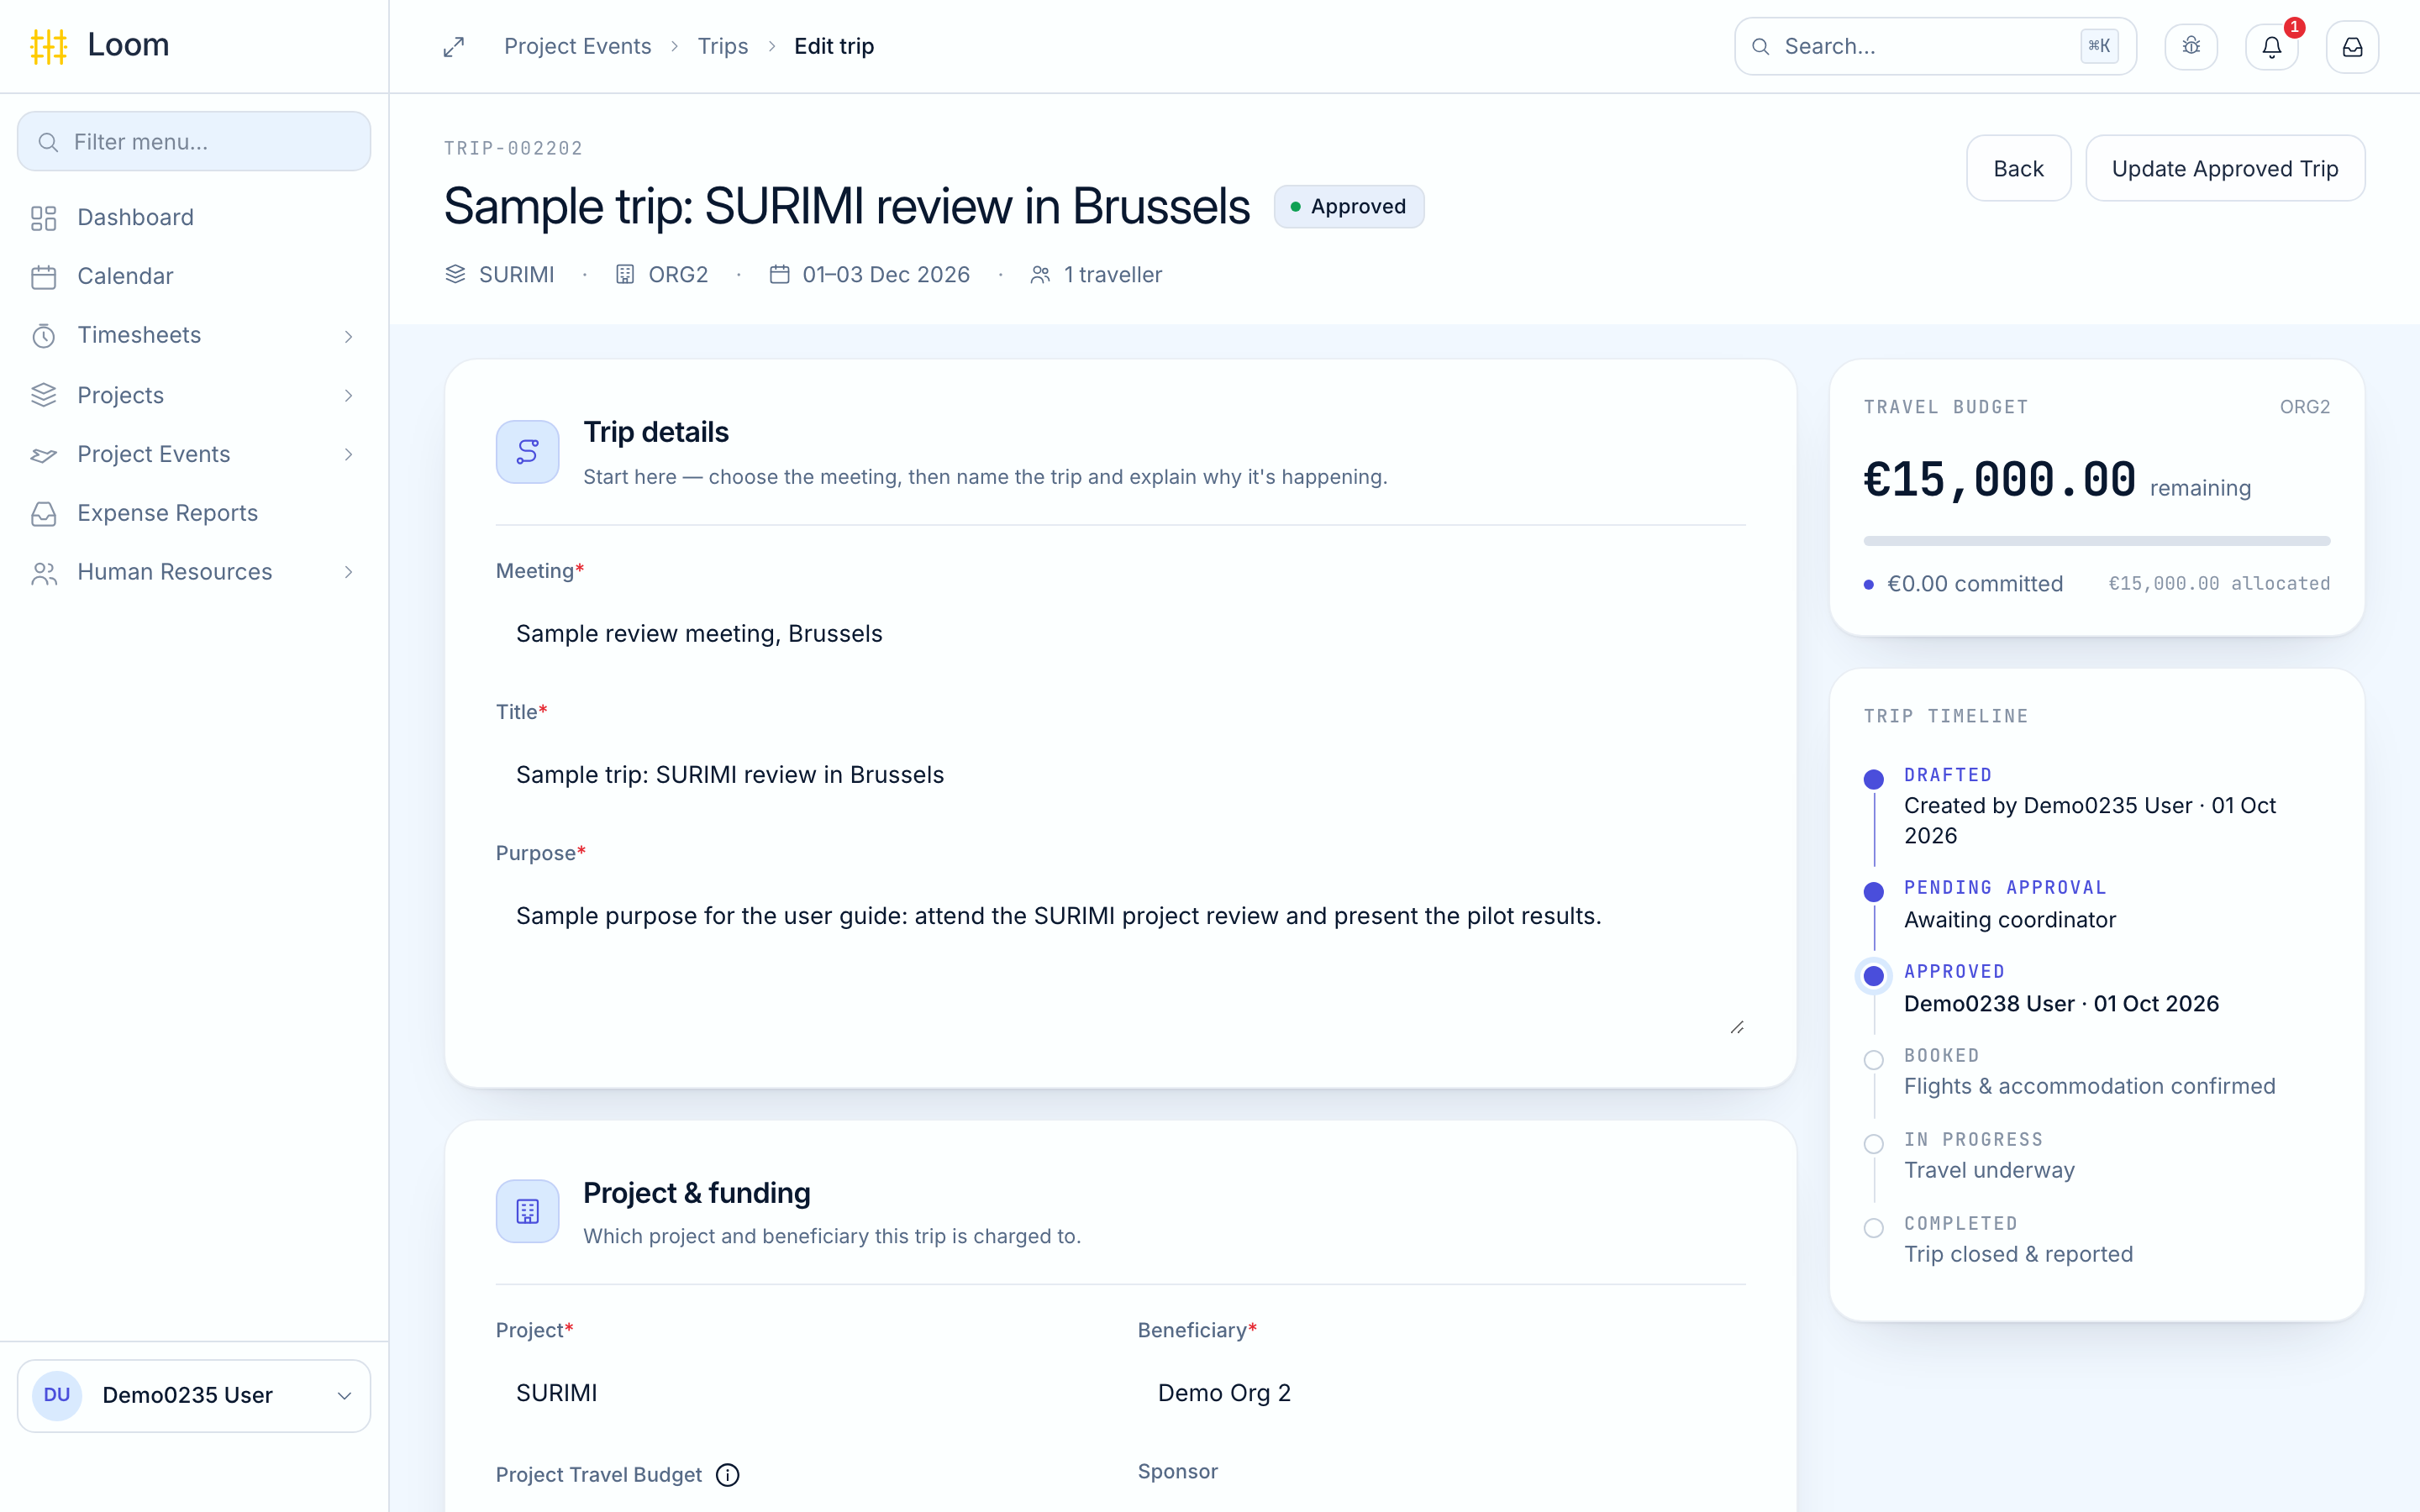
Finding your trips
Project Events › Trips opens on Upcoming trips. To see past trips too, choose All trips from the view tabs above the list.
What happens next
The project's sponsor approves or rejects the trip. Loom sends an email to the person who created the trip at each decision.
| Status | What it means | What you can do |
|---|---|---|
| Draft | Saved, not sent | Change it, submit it, or withdraw it from the ⋯ menu |
| Submitted | Waiting for approval | Nothing |
| Approved | You can travel | Create an expense report for it |
| Completed | The trip has ended | Nothing |
| Rejected or Cancelled | Not going ahead | Change it and Resubmit |
On your phone
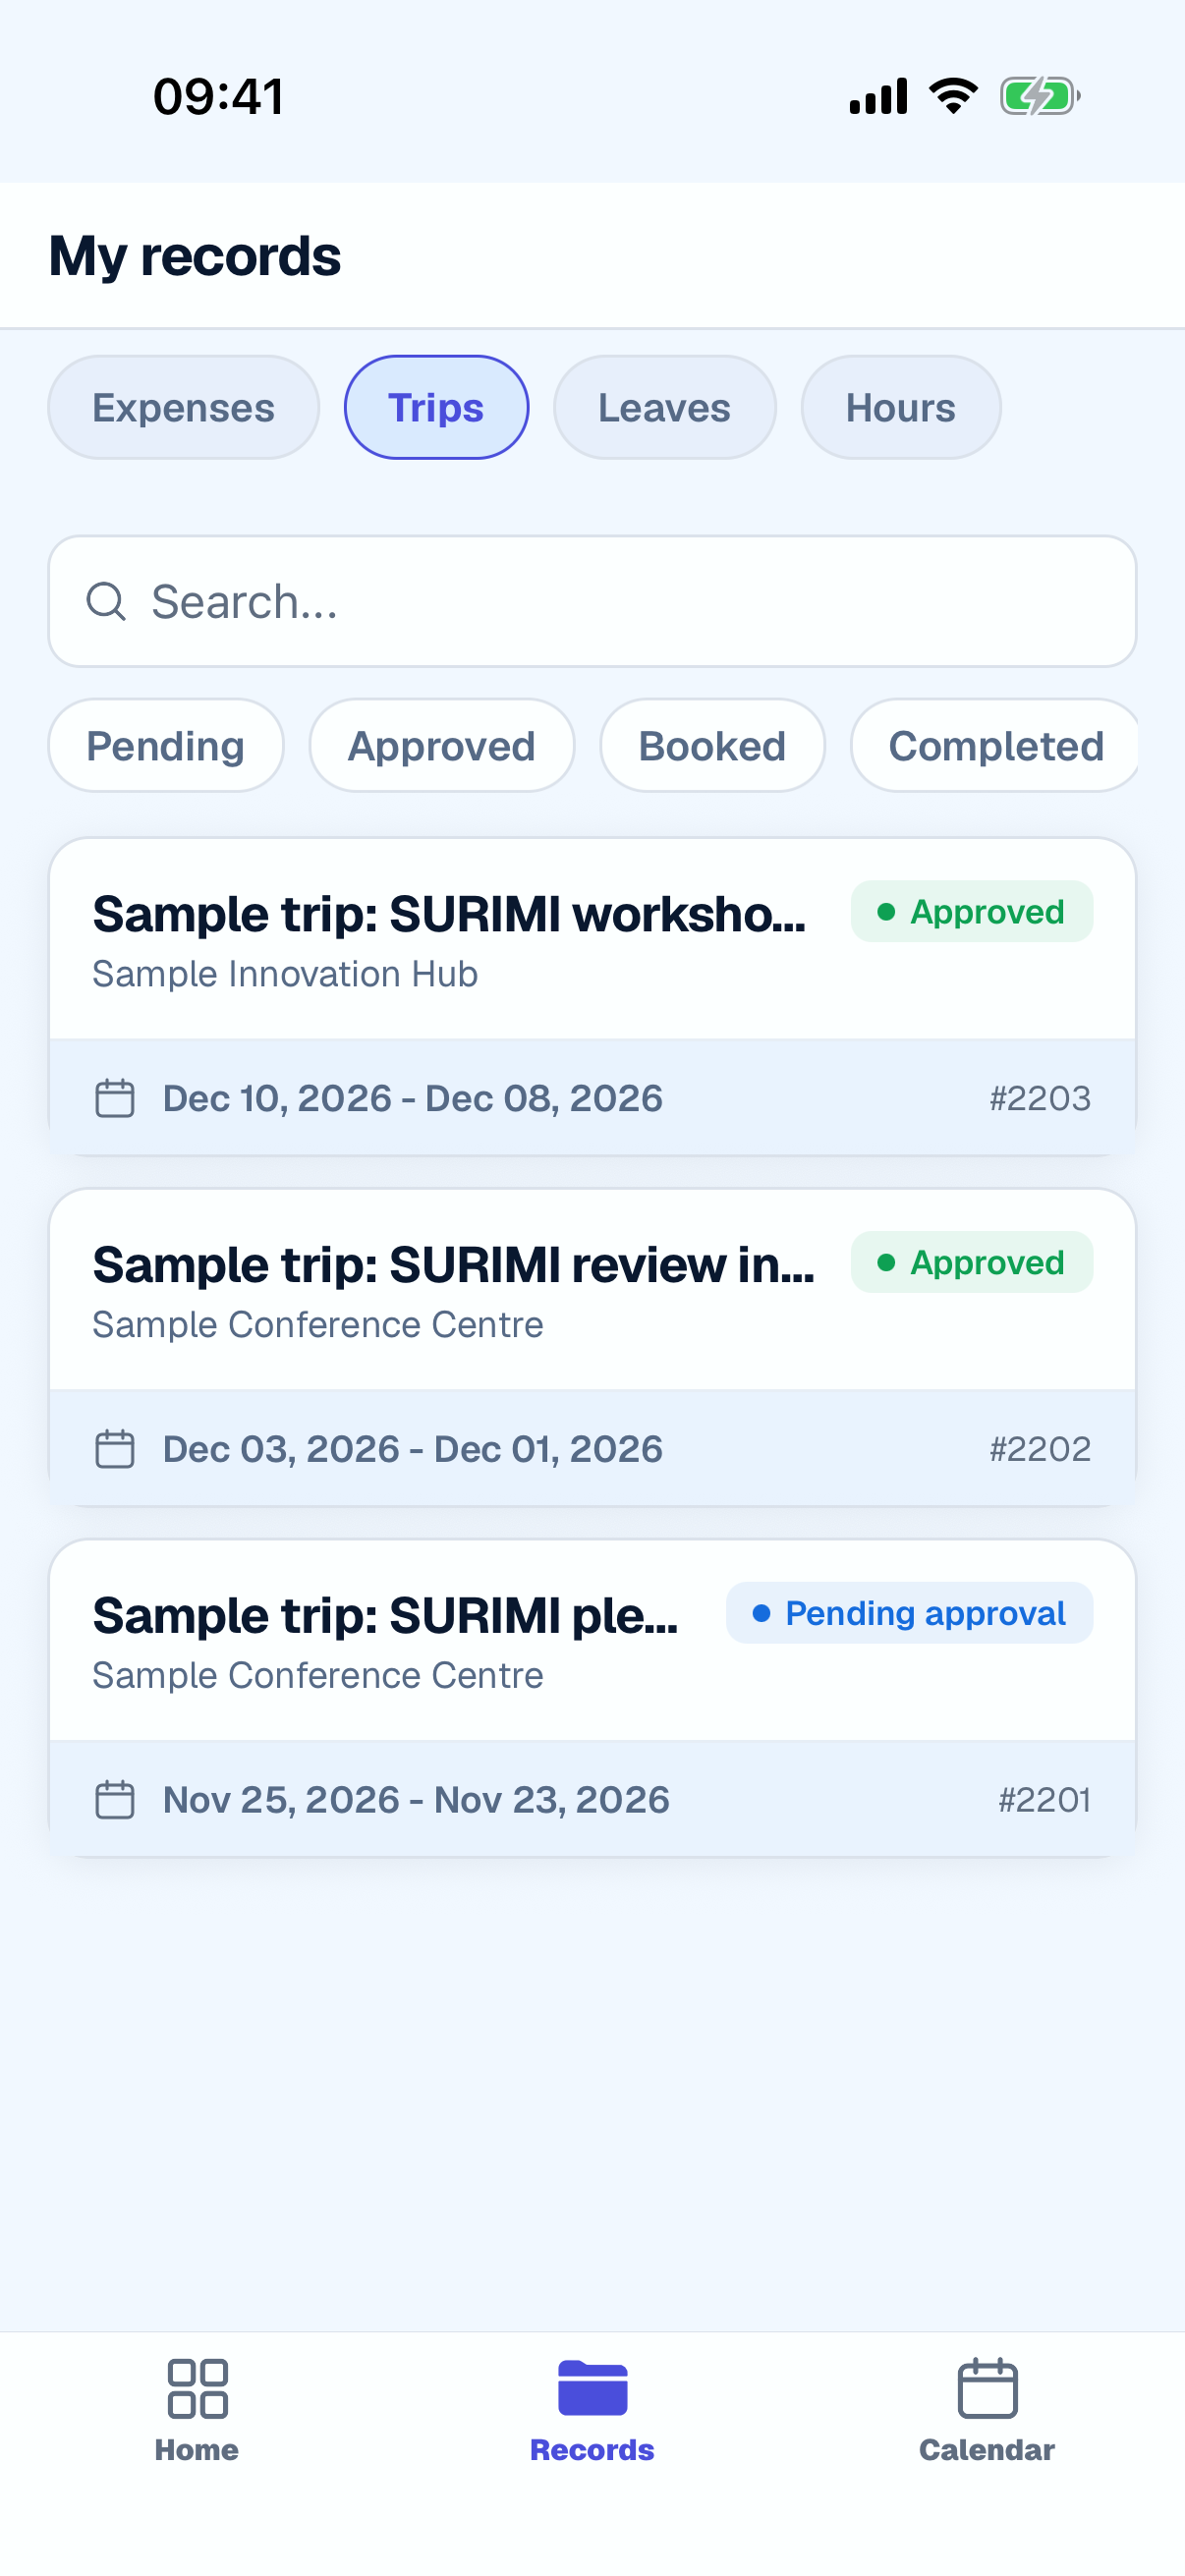
Tap Records, then Trips, to see your trips and their status. Creating or changing a trip is done in the browser.